The Pane Clean Up
General Policy when Deleting Files
The pane Clean Up is designed to remove files from your computer which might not be needed any longer. Note that TinkerTool System cannot release you from your decision whether certain files are indeed not needed or should be kept. To avoid that the program cleans your system from files without your explicit permission to do so, it is recommended to always keep the option Display analysis before deleting anything, which you’ll find at the bottom line of each tab item, in the “on” position. The option will be active by default if you have set the preference Always create report before performing any delete operations in the preferences panel of the application.
With this feature switched on, TinkerTool System always displays a confirmation panel which will list all files and folders that are about to be removed before the actual delete operation will take place. You will have a final chance to review the list of files. By deselecting specific files from the list, you can also take them away from the delete operation individually. Each entry also has a “reveal in Finder” button marked with a magnifying glass that can be clicked to open the affected folder, showing the respective object, in a Finder window.
Hidden Support Files
macOS uses several types of hidden support files to fulfill specific tasks. If you are transferring disks to users of operating systems where these hidden files could become visible, e.g. when authoring a CD-ROM, uploading files to a shared server, or when working with external drives for transport, these files might cause confusion or may be considered to be disturbing. Some hidden files contain important data while others might not be of use when working with foreign systems. TinkerTool System supports the removal of two specific types of hidden files:
- Desktop Services Store files: These files always have the name .DS_Store. The Finder is creating a .DS_Store file in every folder a user has ever opened with the Finder, under the condition that the user had write permission for each folder in question. A .DS_Store file contains all view preferences the Finder was using the last time a user opened the folder containing that file. View preferences include the size of the Finder’s display window, the view mode (icon, list, columns, Cover Flow), the position of the icons, the sorting preferences, background images, and much more. The Finder’s view preferences are either set indirectly, by just opening a new default window which has certain current view settings, or explicitly by using the menu item View > Show View Options of the Finder. When a .DS_Store file is removed, its folder will fall back to using default view settings. A new .DS_Store file will be created automatically the next time the folder is opened via the Finder again.
- AppleDouble files: These files are also called “dot underscore files” because they always have file names that begin with “._”. The macOS kernel creates these files automatically when it is necessary to store certain Macintosh-specific attributes on file systems which cannot support such attributes natively. Examples for these additional attributes are the type codes, the visibility markers, quarantine info, or the resource forks already mentioned in the chapter The Pane Files. Such files will only be created if it is necessary to emulate these attributes on a foreign file system, for example when storing a classic Mac application onto an MS-DOS disk. For this reason you will rarely find such files on HFS+ disks. They can exist on such disks nevertheless, for example after document files with emulated attributes have been copied back to an HFS+ disk using an operating system different from macOS. The connection between the main file and its associated AppleDouble file is maintained by using file names that follow a simple pattern: When creating an AppleDouble file to store the Mac-specifics of the file “example,” macOS will use “._example” as its name.
TinkerTool System cannot prevent in advance that these files are created. (This would cause the Finder no longer to remember view preferences, and would cause data loss in case of AppleDouble files.) The Finder contains an advanced preference setting however, which can be used to suppress the creation of new .DS_Store files when the Finder is opening folders located on network file servers. This setting is accessible via the sister application TinkerTool.
TinkerTool System can remove these two types of hidden files, cleaning a whole hierarchy of folders if desired. The user initiating the removal must have read permission for the files and folders affected. To delete hidden files, perform the following steps:
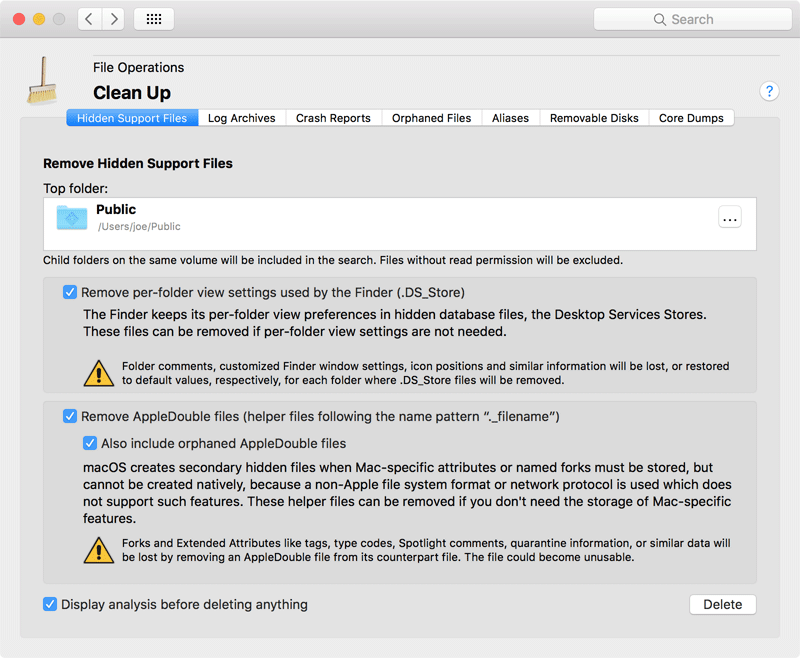
- Open the tab item Hidden Support Files on the pane Clean Up.
- Drag the top folder that should be processed from the Finder to the field Top folder. You can also click the button […] to navigate to the object, or click on the white area to enter the UNIX path of the object.
- If you like to remove all Desktop Services Store files from that folder and all its subfolders, check the option Remove per-folder view settings used by the Finder.
- If you like to remove all AppleDouble files associated with existing files from that folder and all its subfolders, check the option Remove AppleDouble files. If you like to include files which just look like AppleDouble files, no matter if their associated files exist or not, set an additional check mark at Also include orphaned AppleDouble files.
- Click the button Delete.
Only remove hidden files when you know for sure that their contents is really not important. Otherwise serious data loss could occur.
Log Archives
As outlined in the chapter The Pane Info, macOS keeps a high number of log files which collect messages about events and error conditions that occurred during the operation of the computer. When log files have reached a certain age or size (depending on information category), macOS will automatically remove them, starting anew with clean files. Several log files are considered to be important, however, so the old copies are not simply deleted but are compressed and put to an archive area. Depending on importance of the log category in question, macOS will hold several generations of those archived copies until they will be finally deleted.
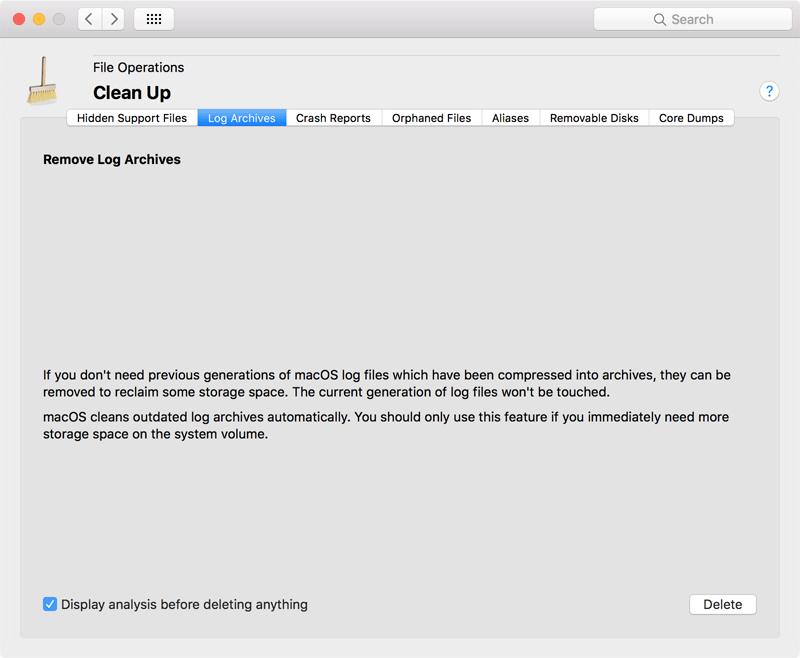
If your computer is very low on storage space, you may like to remove all archived log files immediately. The currently used generation of log files won’t be touched during this operation. To delete archived log files, perform the following steps:
- Open the tab item Log Archives on the pane Clean Up.
- Click the button Delete.
Crash Reports
Whenever an application crashes, macOS automatically creates a so-called crash report which can help software developers to determine the exact technical reason why the application had to be terminated immediately. Application crashes are usually caused by programming errors either in the application itself or in the operating system. When you report a crash incident to the application’s publisher, the responsible software engineer will usually request the crash report to be submitted for analysis.
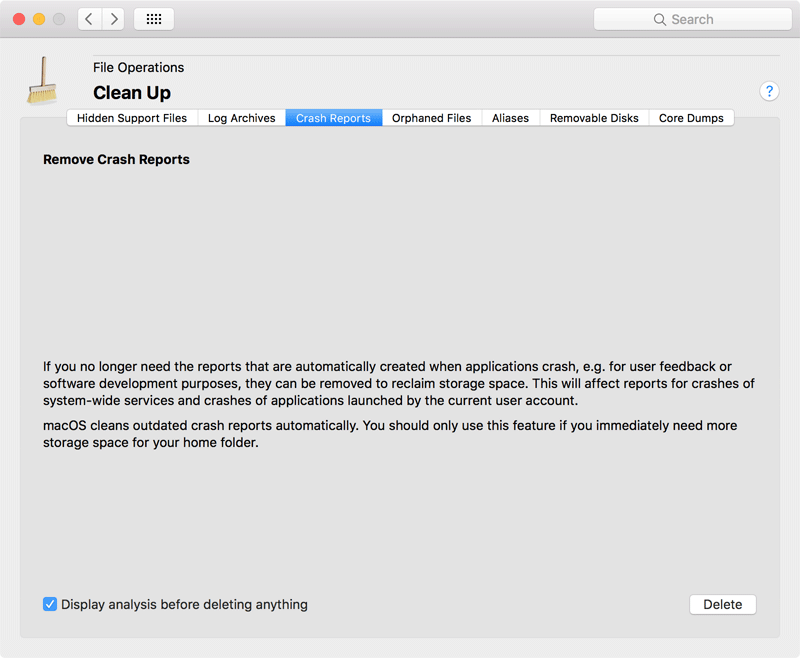
In case you no longer need specific crash reports for communication with the software vendor, you can delete them to reclaim storage space. TinkerTool System can automatically find crash reports that either apply to programs affecting the whole computer (usually system services), or that apply to applications which have been run in the current user account. (Crash reports owned by other users won’t be displayed.) The list of crash reports may also include crashes which occurred on mobile Apple devices that could not send the report directly to Apple, e.g. an iPod touch.
macOS automatically removes excessive and outdated crash reports, that is, repeating reports on the same type of incident which don’t add any new information, and reports which have become so old that they no longer seem to be useful. Automatic removal of expired crash reports usually takes place after 30 days.
To delete unneeded crash reports manually, perform the following steps:
- Open the tab item Crash Reports on the pane Clean Up.
- Click the button Delete and wait until the program has collected all reports.
- If the setting Display analysis before deleting anything is on, a list of the available crash reports will appear. The table contains the following information: the name of the device on which the crash occurred, a marker if this was a mobile device, the process name of the crashed program, the exact time when the crash was recorded, and the file size of the report. By selecting or deselecting check marks in the column Remove? you can choose which reports to delete and which to keep.
- Click the button Delete in the dialog sheet to remove the selected reports or click Cancel to perform no operation.
Orphaned Files
In environments where a computer is used by many people, it will happen from time to time that user accounts are deleted after they have been in use for a certain time. For a company computer for example, this will be the case when an employee is leaving, for a school computer after a student has completed her final exams. Typically, the application System Preferences is used to delete the account, and the program offers to delete the affected user’s home folder at the same time. This usually means that all files the user had created will be properly removed from the computer as well.
Problems can occur if such a user was granted permission to create files outside his home folder or to store applications there. In this case, orphaned files, folders and applications may remain stored on the computer, even after the user account and the user’s home folder have been deleted. TinkerTool System can help you to find such objects and to delete them when desired. This operation must be repeated for each single volume and is restricted to volumes capable of storing ownership information. A file system object is considered to be orphaned if it has an owner entry which can no longer be matched with available user accounts. The info panel of the Finder only shows the text Loading… as owner of such an object in this case. The pane ACL Permissions of TinkerTool System only lists ID x (i.e. no readable name) at the permissions table in the POSIX owner line where x is a numeric value.
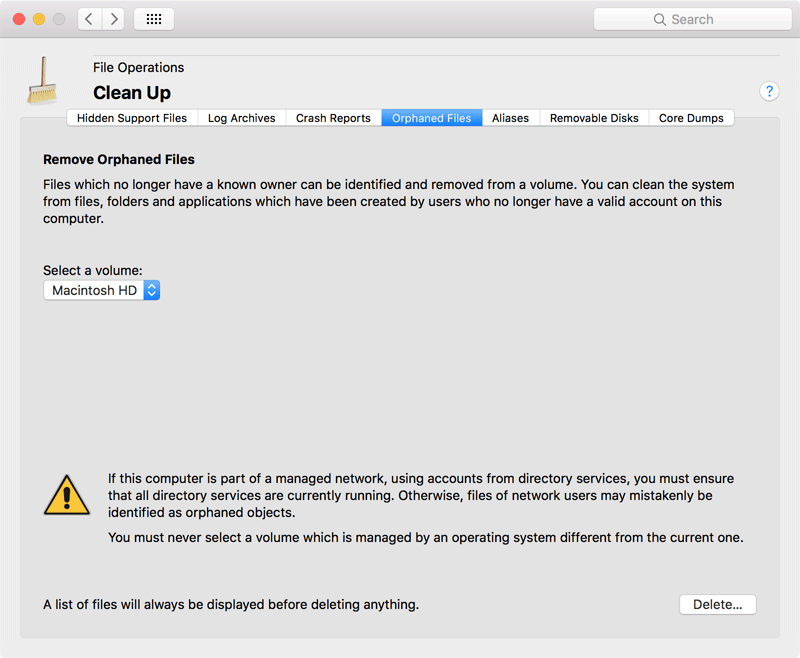
To identify orphaned files and if necessary to delete them, perform the following steps:
- Open the tab item Orphaned Files on the pane Clean Up.
- Click the button Delete… and answer the questions of the application.
- When a search for orphaned files is necessary, wait until the program has collected all matching files.
- If multiple orphaned files have been found, TinkerTool System will ask you whether to save a list of file paths as text file. Make your choice and follow instructions.
- The list of affected files and folders will always be displayed. By selecting or deselecting check marks in the column Remove? you can choose which objects to delete and which to keep.
- Click the button Delete in the dialog sheet to remove the selected objects or click Cancel to perform no operation.
If you choose to create a report file in step (4), a text file with the name extension .txt will be created. This can be helpful if you don’t actually like to delete orphaned files, but instead review the list to transfer all found objects to a new owner. The file contains the full paths of all objects, one per line, each path enclosed in quotation marks. This way, the file can be edited and easily converted to a Unix script that performs operations on the affected files.
Some orphaned objects may be marked with the note wrong ownership setting likely. In this case, the owner of the object is indeed unknown (so the file is orphaned), however there are some indications that this is just a wrong ownership setting, not an object which has been left by a deleted user account. Some software vendors (including Apple) sometimes deliver applications or other components with erroneous permission settings which can lead to such an effect. In this case you should not delete the affected files but contact the vendors which distributed them, making them aware of the packaging errors.
Orphaned folders will only be offered for deletion if all of their contents is orphaned as well. In this case, the objects contained in such a folder won’t be listed individually and TinkerTool System won’t sum up the storage size of such objects. So the folder can be listed with a small size although it might enclose large file hierarchies.
Aliases
Aliases are a feature taken over from the classic Mac OS to macOS (see also the pane Files). They are file system objects which refer to other file system objects, making the original object accessible under a different name or in a different folder. When the original objects are moved or renamed, applications can still try to find the original object if they like to, tracking the objects by an educated guess, similar to a smart find operation. However, when the original objects have been deleted, aliases referring to them become outdated and will break. You can use TinkerTool System to find and remove such outdated aliases.
The operation to find the object to which an alias is referring to is known as resolving the alias. It is important to know that the current environment when an alias is being resolved plays a role in deciding whether the alias is outdated or not. An alias may refer to an object on a file system currently not mounted, e.g. a shared folder on a file server, an external disk drive, a CD-ROM, a memory stick, etc. It could also have been created by another user, referring to an object for which the current user has no access permission. In both cases, the original object does not appear to exist from the current user’s point of view. However, the alias could still be valid for the other user, or after reconnecting the correct file system.
To decide whether an alias can be resolved, TinkerTool System uses the current user’s access permissions and does not trigger any reconnect operations.
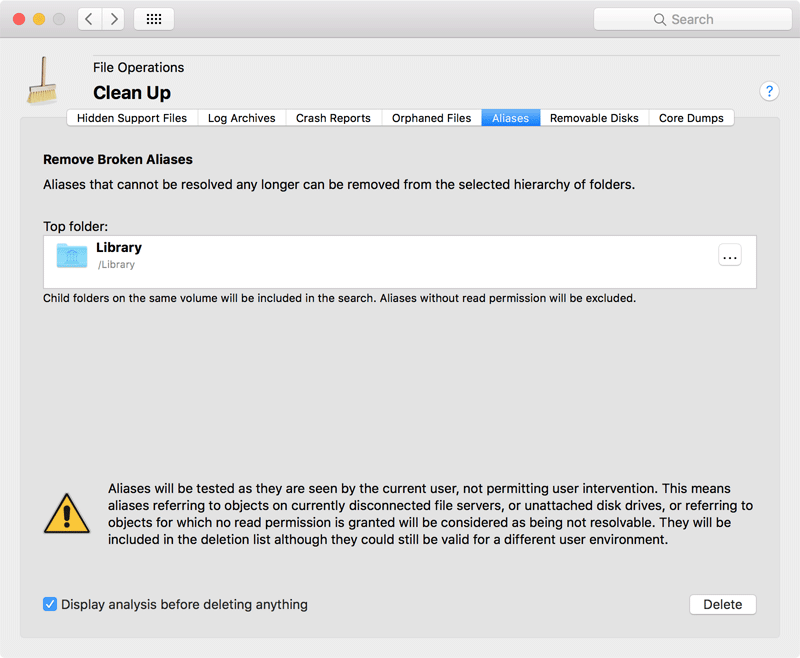
To delete unresolvable aliases from a hierarchy of folders, perform the following steps:
- Open the tab item Aliases on the pane Clean Up.
- Drag the top folder that should be processed from the Finder to the field Top folder.
- You can also click the button […] to navigate to the object, or click on the white area to enter the UNIX path of the object. Click the button Delete and wait until the program has found all broken aliases.
- If the setting Display analysis before deleting anything is on, a list of the available aliases will appear. By selecting or deselecting check marks in the column Remove? you can choose which aliases to delete and which to keep.
- Click the button Delete in the dialog sheet to remove the selected aliases or click Cancel to perform no operation.
Removable Disks
The hidden files mentioned at the beginning of this chapter are not the only invisible components usually found on Macintosh disks. A disk typically contains additional hidden folders to store the Trash, the Spotlight index, and some other files needed to maintain full compatibility with the old Finder of the classic Mac OS. When you pass such a disk to users of a non-Mac operating system, e.g. Linux or Microsoft® Windows, and these users have configured their graphical file browsers to display hidden files, they may be confused. For some devices with embedded operating systems, like TV sets or car radios, the hidden files may even cause technical problems, for example when you like to play MP3 audio files copied by macOS onto a memory stick.
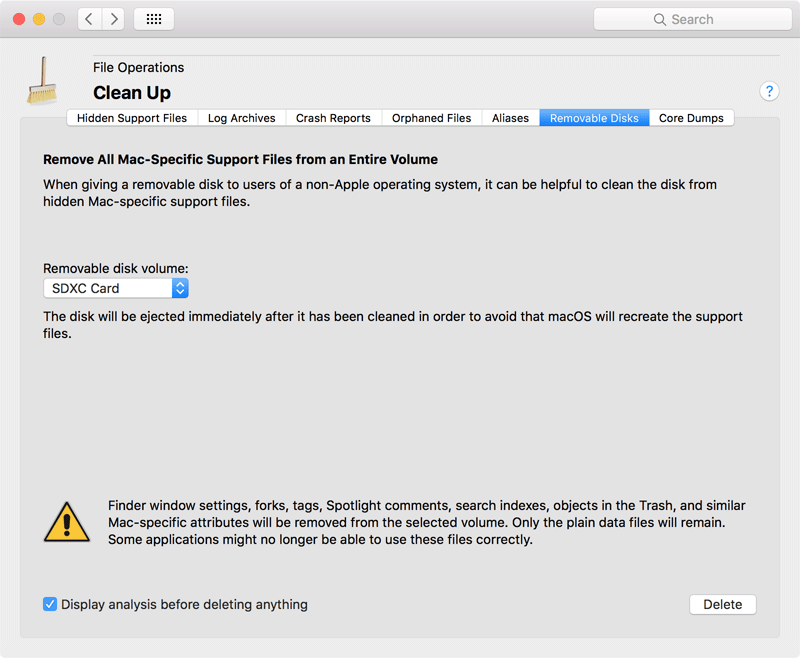
TinkerTool System can remove the complete set of Macintosh support files from an entire disk and then eject this disk to avoid that macOS will recreate the files. You can execute this procedure as the last step before passing the volume to users of a foreign operating system or to a non-Apple device. Perform the following steps:
- Open the tab item Removable Disks on the pane Clean Up.
- Select the disk with the pop-up button Removable disk volume.
- Click the button Delete.
The list of removable disk volumes contains all disks for which you can perform an eject operation in the current situation. This can include internal disks which are not directly removable in the physical sense.
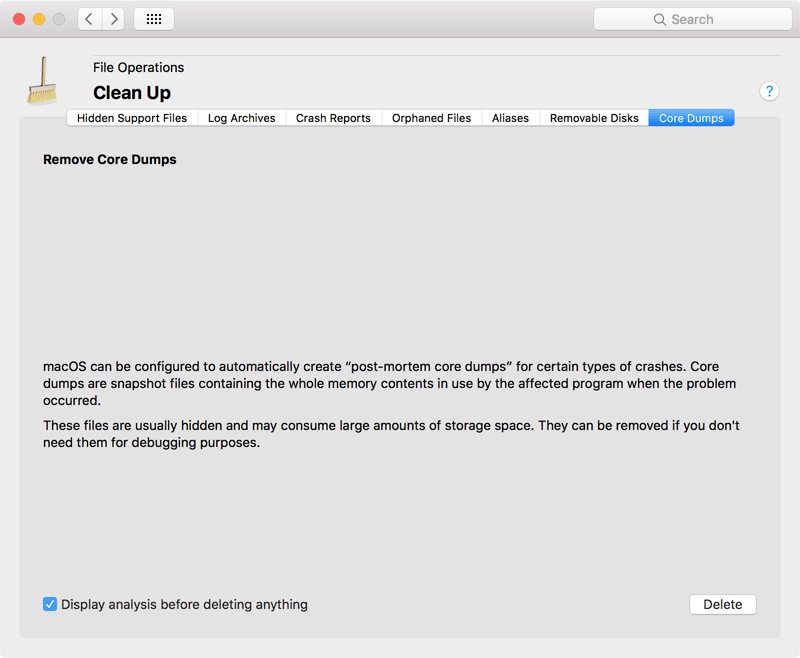
Core Dumps
When using advanced software testing features of macOS, the operating system can be configured to produce so-called post-mortem core dumps. After a tested program — or in these special test situations usually the macOS kernel — has crashed, macOS will write the entire contents of the computer’s main memory to a core dump file on the operating system disk. The core dump is basically a snapshot of the memory situation of the computer when the crash occurred, and can be analyzed further at a later time after the system has been restarted. Core dump files are typically as large as the available memory size, so they may consume a lot of space on the system disk. TinkerTool System can remove all available core dumps automatically if you don’t need them. Perform the following steps:
- Open the tab item Core Dumps on the pane Clean Up.
- Click the button Delete.